Custom Jewelry
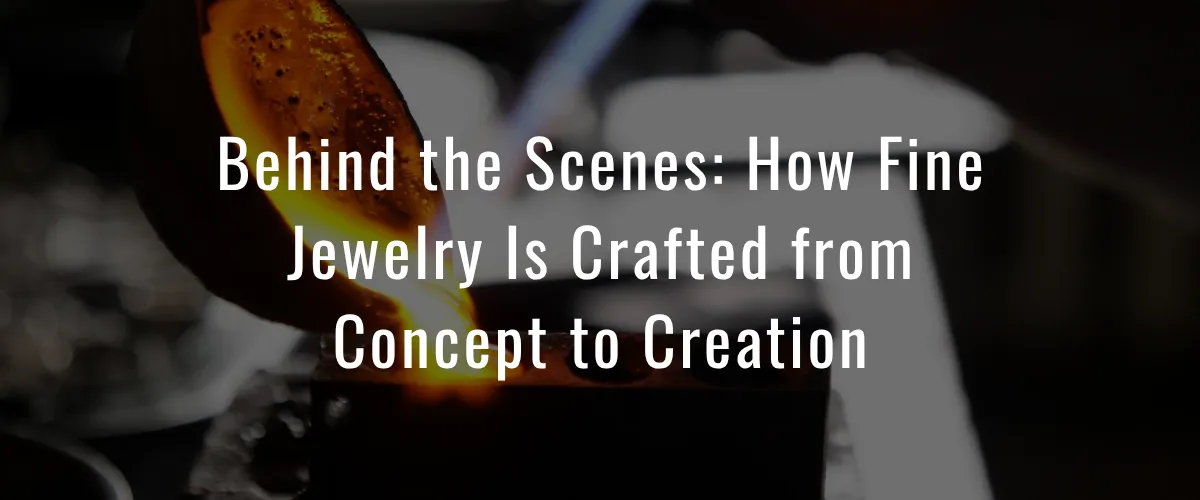
Behind the Scenes: How Fine Jewelry Is Crafted from Concept to Creation
Published: Mar 19, 2026
Fine jewelry is produced through a structured process that moves from initial concept to final finishing. Each stage focuses on precision, material control, and craftsmanship, with decisions made early in the process affecting the final outcome.
The process typically includes concept design, CAD modeling, wax prototyping, casting, stone setting, and final finishing.
At this stage, the focus is on defining direction rather than refining details. The goal is to establish a clear foundation before moving into technical development.
Designers typically outline:
The CAD model allows for detailed review and adjustment before production begins. Proportions, symmetry, and spacing are finalized at this stage before any materials are used.
With CAD, it becomes possible to:
The wax model provides a tangible reference for scale and structure. It allows for final checks before the piece is cast in metal.
In many workshops, this model is reviewed closely and adjusted before moving forward.
This stage remains widely used because it supports detailed shaping and controlled adjustments.
For a deeper look at how this traditional method works, resources like the Gemological Institute of America provide helpful explanations.
Typical work includes:
The process focuses on:
Finishing typically includes:
Modern tools support accuracy, but execution still depends on skilled professionals at every stage.
For more on how designs are developed from concept to completion, see how we approach custom jewelry design process from concept through final fabrication.
The finished piece reflects the process behind it, including the materials, techniques, and level of craftsmanship involved.
The process typically includes concept design, CAD modeling, wax prototyping, casting, stone setting, and final finishing.
1. Where It Begins: The Initial Idea
Every piece starts with a concept. This may come from a sketch, a design brief, or an existing piece that is being redesigned.At this stage, the focus is on defining direction rather than refining details. The goal is to establish a clear foundation before moving into technical development.
Designers typically outline:
- Overall shape
- Style and aesthetic
- Stone placement
- Comfort and wearability
2. CAD Design: Turning Ideas into a Plan
Once the concept is approved, the design moves into CAD, or computer-aided design. This creates a precise digital model of the piece.The CAD model allows for detailed review and adjustment before production begins. Proportions, symmetry, and spacing are finalized at this stage before any materials are used.
With CAD, it becomes possible to:
- View the piece from multiple angles
- Adjust dimensions with accuracy
- Confirm gemstone positioning
3. Creating a Wax Model
The finalized digital design is converted into a physical model, usually in wax. This is often produced using 3D printing, though hand-carving is still used for certain designs.The wax model provides a tangible reference for scale and structure. It allows for final checks before the piece is cast in metal.
In many workshops, this model is reviewed closely and adjusted before moving forward.
This stage remains widely used because it supports detailed shaping and controlled adjustments.
4. Casting: Forming the Metal Structure
The wax model is used to create the metal form through a process known as lost-wax casting. This method translates the design into gold, silver, or platinum.
The process involves:- Placing the wax model inside a mold
- Heating the mold to remove the wax
- Pouring molten metal into the cavity
- Allowing the metal to cool and solidify
For a deeper look at how this traditional method works, resources like the Gemological Institute of America provide helpful explanations.
5. Refinement and Assembly
After casting, the piece is refined to improve both structure and appearance. This stage brings together individual components and prepares the piece for stone setting.Typical work includes:
- Removing excess metal
- Smoothing surfaces and edges
- Assembling separate parts
- Reinforcing structural areas
6. Stone Setting: Precision Work
Gemstones are set into the piece using specialized tools and techniques. This step requires a high level of accuracy, as even small variations affect how the piece holds up over time.The process focuses on:
- Securing each stone in place
- Maintaining consistent spacing
- Protecting the stone during setting
7. Polishing and Final Finish
Once the structure and stones are complete, the piece moves into finishing. This stage defines the final look and surface quality.Finishing typically includes:
- Pre-polishing to smooth the surface
- Final polishing for a clean finish
- Optional plating, such as rhodium for white gold
8. Quality Check Before Completion
Before completion, each piece undergoes a detailed inspection to confirm it meets required standards. This includes checking visual consistency, testing structural durability, and verifying precise measurements. Only pieces that pass all of these checks move forward to final delivery.What This Process Really Involves
Jewelry creation combines design, engineering, and hands-on craftsmanship. Each stage contributes to the final result, and consistency across all steps is essential.Modern tools support accuracy, but execution still depends on skilled professionals at every stage.
For more on how designs are developed from concept to completion, see how we approach custom jewelry design process from concept through final fabrication.
Final Thoughts
Creating fine jewelry requires coordination across multiple stages, from early design decisions to final finishing. Each step plays a defined role in shaping the outcome.The finished piece reflects the process behind it, including the materials, techniques, and level of craftsmanship involved.